One of the great features of most new cameras is the relative sophistication of their auto-exposure feature. Starting, I used “all auto, all the time” because you need to be quick to photograph birds, and changing shutter speed, aperture, and the sensor’s sensitivity (ISO—International Standards Organization) just seemed too complicated. I had all I could do to find the bird, zoom in, frame, and try to capture the bird doing something interesting. While this worked pretty well most of the time, there were situations in which the final result left a lot to be desired. It was either underexposed or overexposed. If a bird were flying or in motion, I would end up with a blurred image.
Using the Exposure Triangle in Bird Photography
Even though my Sony a6700’s autoexposure capabilities are good, I wanted to learn more about improving the quality of exposure I was getting from the camera. This meant re-learning the “exposure triangle” I used in manual 35mm cameras.
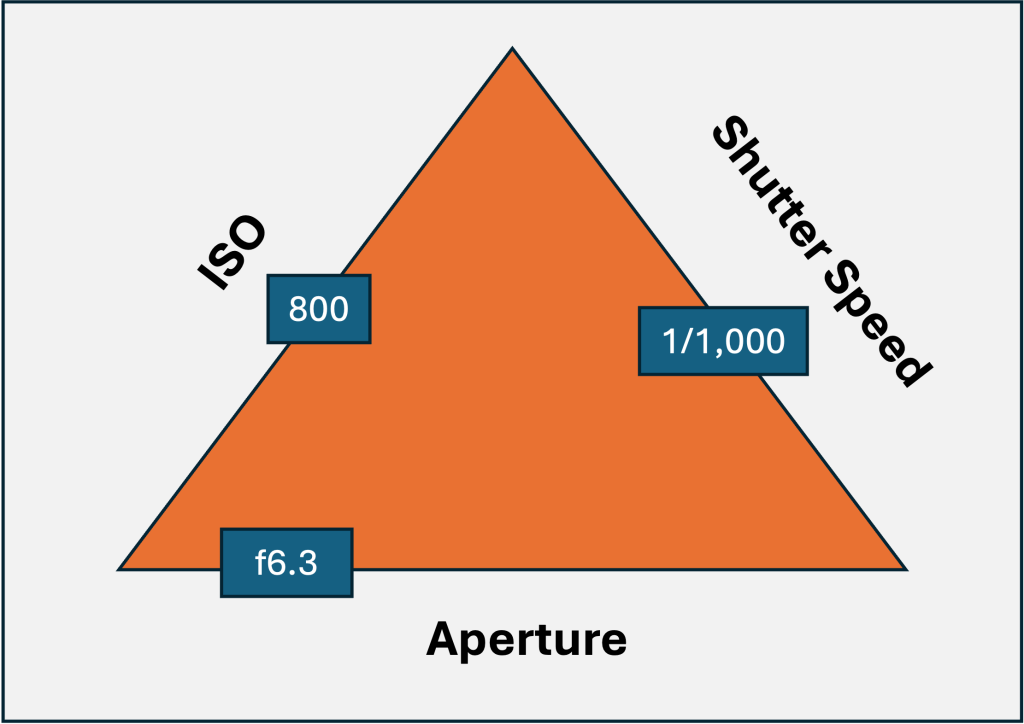
Each side of the exposure triangle represents a setting that can be changed in many cameras, including the point-and-shoot cameras I used when starting in bird photography.
ISO (International Standards Organization) – for those who’ve been taking pictures for years, you might remember this as ASA (American Standards Association): This represents the camera sensors’ sensitivity to light. For 35mm film, it is referred to – for example – as Kodak Tri-X film with a 400 ISO. But 35mm films only have one ISO. Digital camera sensors can be set to a range of ISOs that can be manipulated to get the best exposure.
Aperture: This is the amount of light that is let in through the lens. Each lens has an aperture that opens and closes automatically or manually and can be adjusted to impact a picture exposure or adjust the picture’s “depth of field,” which controls how much of a picture is in or out of focus.
Shutter Speed: How fast the shutter opens and closes to allow light to reach the camera’s sensor. For bird photography, you typically want a shutter speed greater than 1/500 of a second to ensure a sharp picture, especially if the bird is moving.
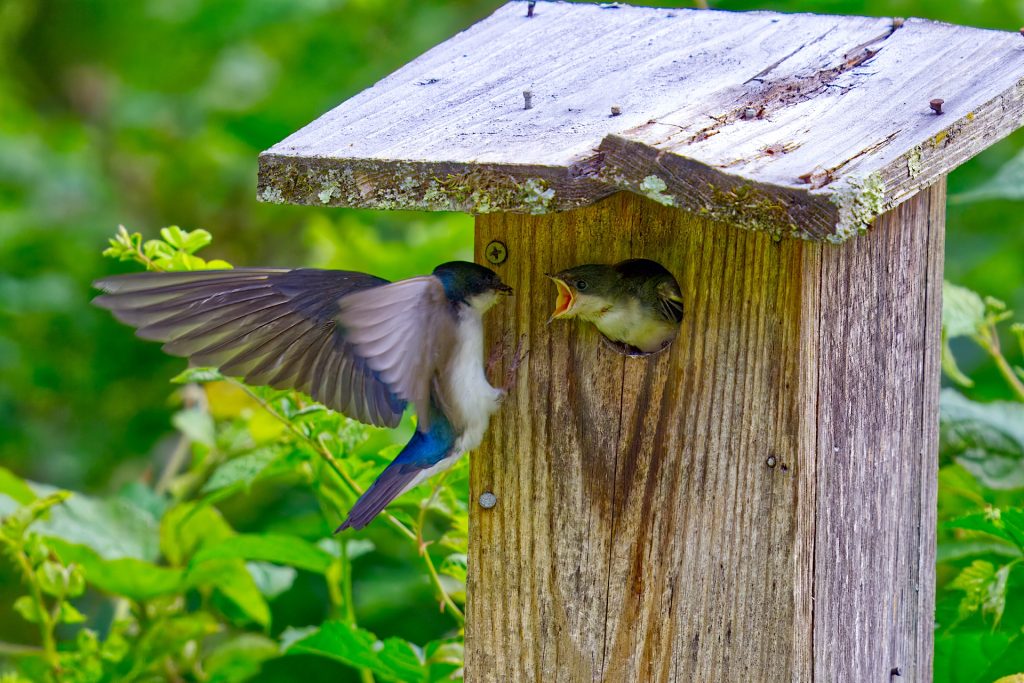
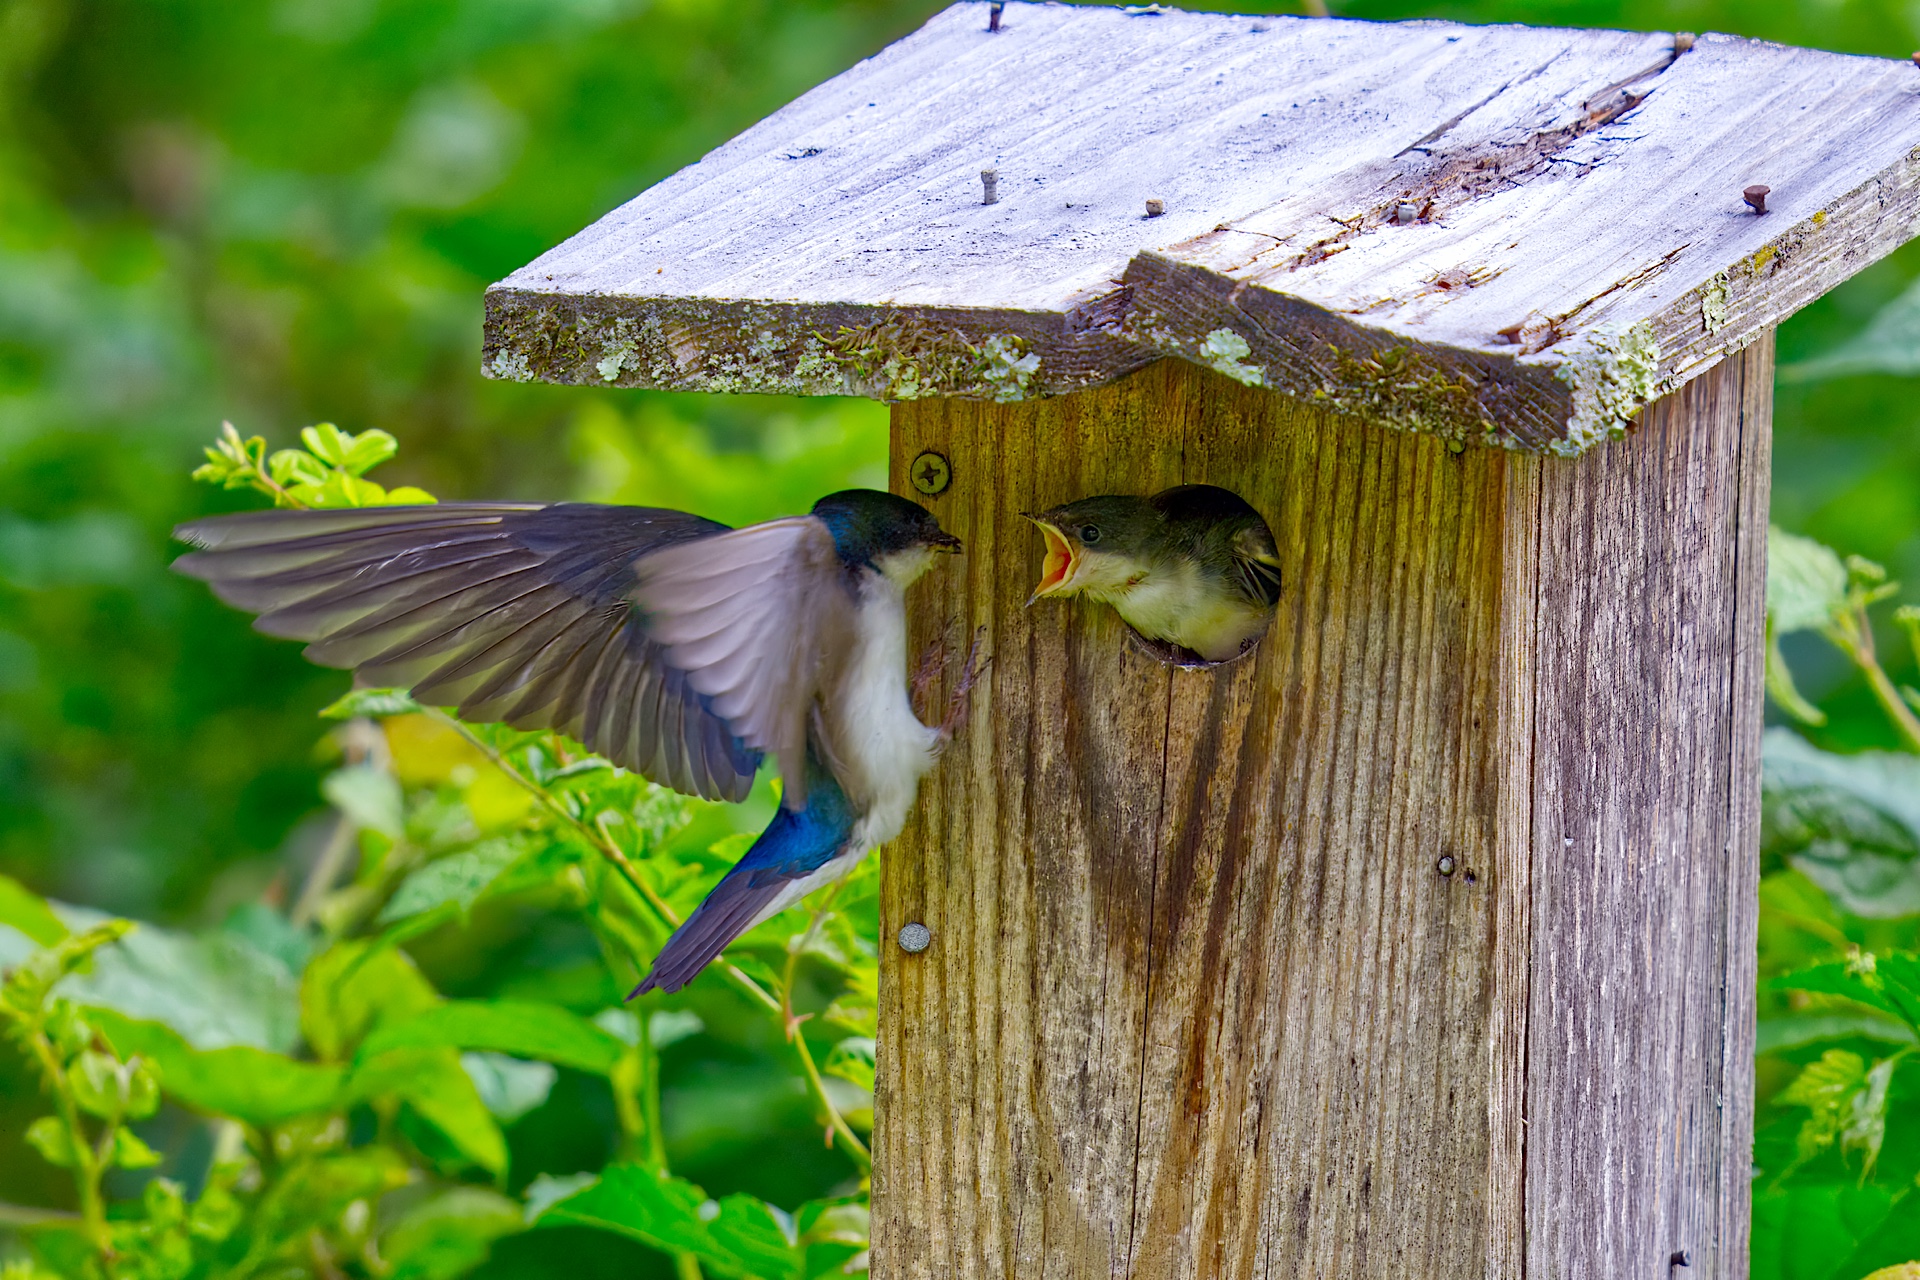
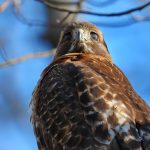
This picture was taken with a shutter speed of 1/1,000 second, an aperture of f6.3, and an ISO of 2,500.
Relearning the Exposure Triangle – specifically from a bird photography perspective – I found the following:
- The auto exposure mode in my camera is good but not great, especially in challenging lighting situations.
- I want to use the highest shutter speed I can for birds to achieve good sharpness and capture motion.
- Capturing birds in flight requires even higher shutter speeds than when a bird is stationary or only moving slightly.
- Because my lens has an f6.3 maximum aperture, high shutter speeds increase the ISO with which the picture is taken, sometimes resulting in more “noise” (grain back in the 35mm days) than I’d like.
- And, when I use the maximum aperture on my lens, I often have a very shallow “depth of field,” resulting in some of the subject(s) being out of focus
- It’s a trade-off as you experiment and work through what is best for a specific environment (amount of light, position of light), and subject (stationary bird, bird in flight)
Knowing the above, I started working with the exposure controls on the camera:
Shutter Priority – I set the shutter speed, and the camera adjusts the aperture and ISO for the best possible exposure.
Aperture Priority – I set the aperture, and the camera adjusts the shutter speed and ISO for the best possible exposure.
Full Manual – I set the shutter speed, aperture, and ISO to get the best possible exposure.
Example Using the Exposure Triangle Photographing a Great Blue Heron
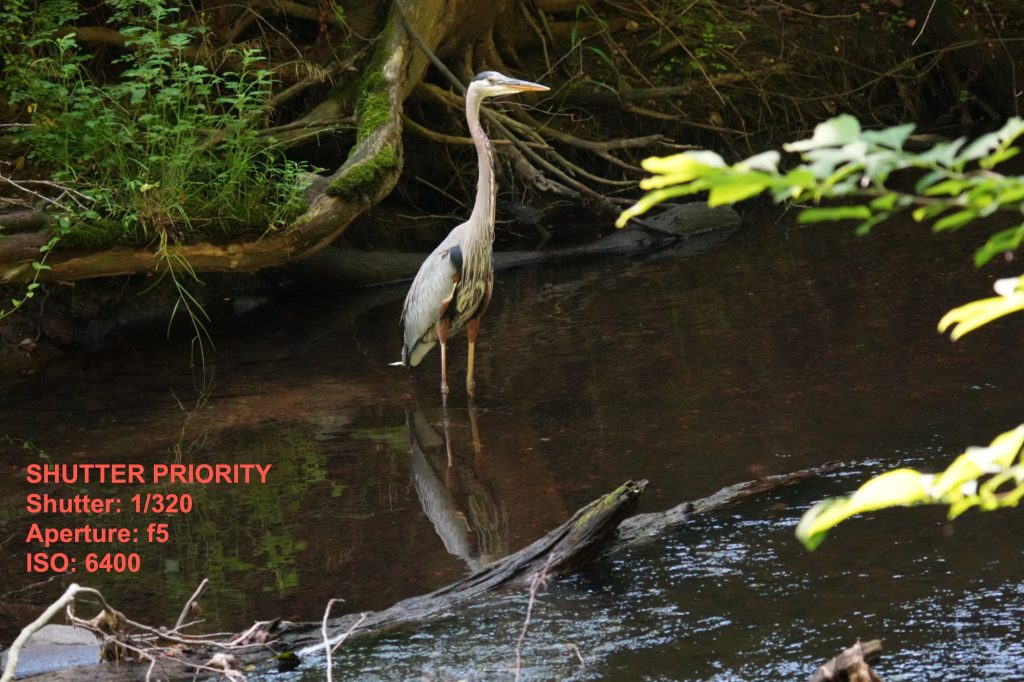
Here’s an example from a recent experiment of photographing a Great Blue Heron at Rockefeller State Park Preserve in Pleasantville, NY.
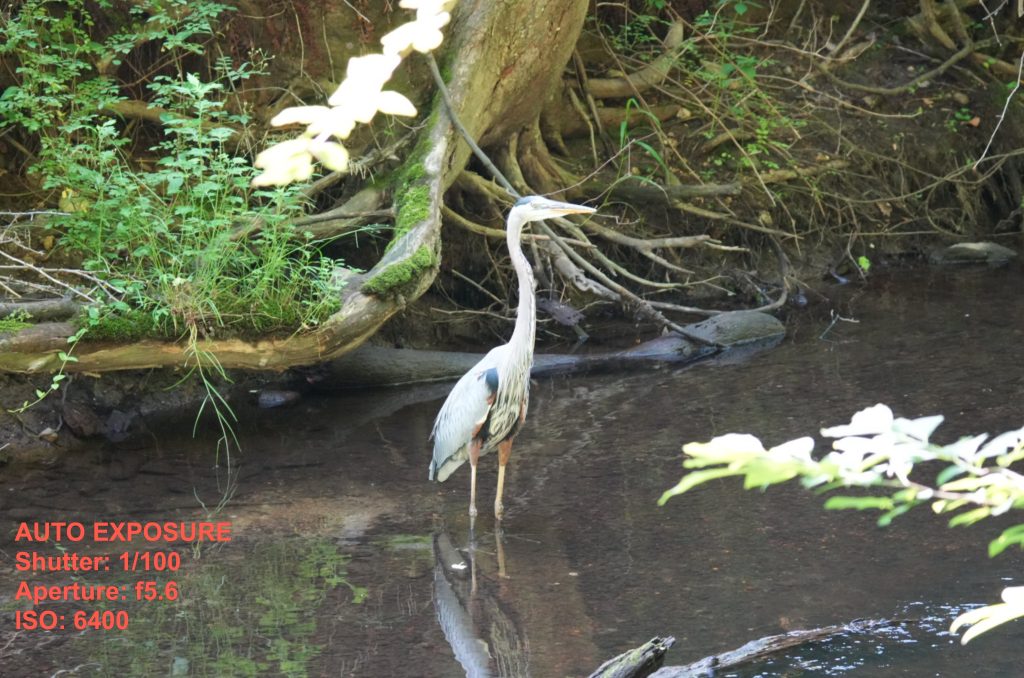
When I first spotted this bird, my camera was in “Intelligent Auto” mode. The heron is overexposed in this instance because the camera was automatically trying to compensate for the lighting situation where the heron is in sunlight against a dark background. Exposure details are shown in each photo.
After seeing the overexposed picture, I switched to Shutter Priority on my camera. The shutter was set to 1/1,000 second from an earlier photograph, resulting in an underexposed picture.
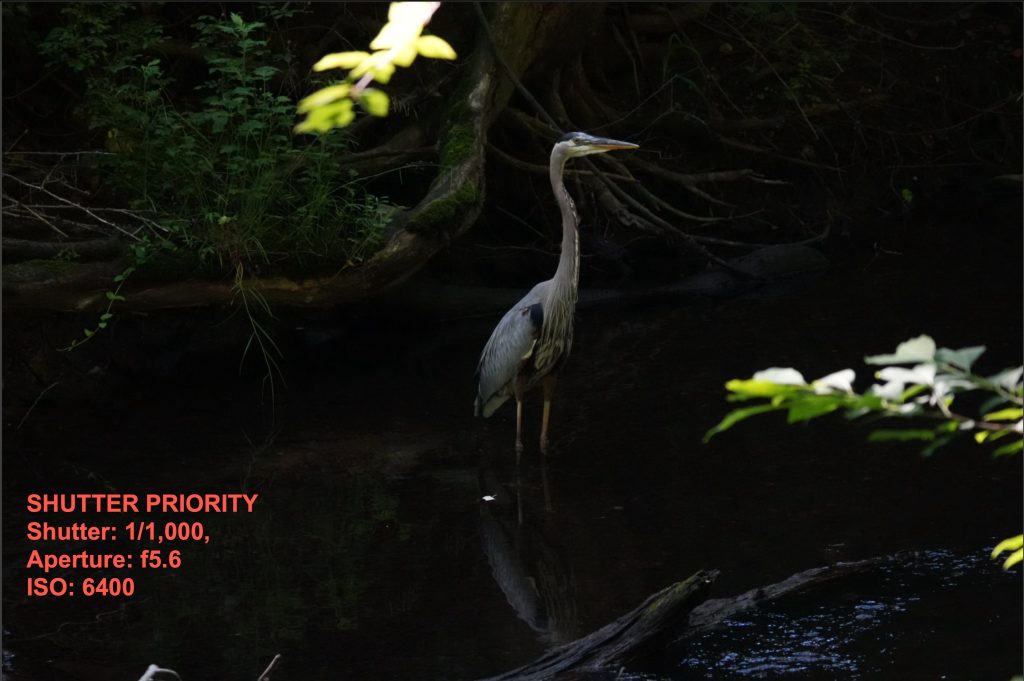
I adjusted the shutter speed down until I got a better exposure and ended-up at 1/320 second.
Summary of Using the Exposure Triangle for Bird Photography:
After working with all the camera exposure options above, I often fall back on Shutter Priority. This allows me to avoid motion blurring for birds in flight and even for stationary birds when I move the camera during exposure (even with image stabilization). I’m setting the shutter speed at a minimum of 1/500 seconds and often at 1/1,000 seconds on brighter days. When I take a picture of a group of birds, I might switch to Aperture Priority and set the aperture to allow me to keep the entire group of birds in focus. Shutter Priority, however, is what I’m using most at this point.
0 Comments